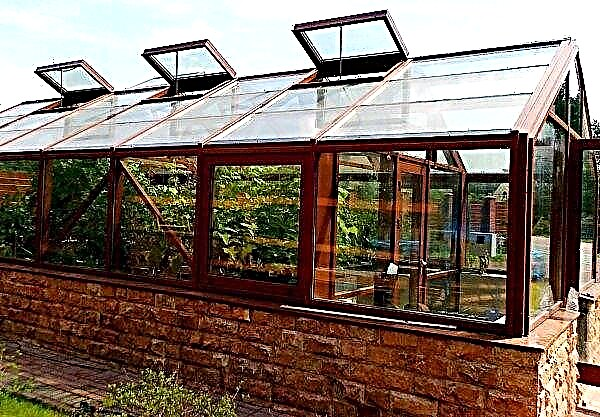
The greenhouse method of growing cultivated plants has reached its peak today, many solutions have appeared on the market that can satisfy the requirements of any gardener. However, not every design is distinguished by technical perfection and ideal structural properties, so often such engineering decisions require adjustments. The article describes in detail how to properly assemble a greenhouse from a galvanized steel profile and what is needed for the long-term functioning of a frame greenhouse.
Pros and Cons of Using
Polycarbonate buildings are considered the most optimal choice when arranging a greenhouse or other protective structures for plants. They look modern and are able to fit into any landscape interior, which caused in most cases their popularity with plant growers. But they have a lot of other advantages.
- The main ones are the following:
- the structure is easy to install, so it can be equipped without special building skills;
- polycarbonate has a maximum light transmission of all materials, which will allow plants to create excellent illumination;
- the greenhouse has a minimum weight, so it can be built without a solid foundation;
- Polycarbonate itself is notable for its low thermal conductivity, therefore it makes it possible to create the most comfortable microclimate inside;
- the structure can be given any shape and size;
- polycarbonate and galvanized profile have a long service life and can last at least 20 years;
- increased mobility, the structure can be successfully dismantled at the end of the season or moved to a new place;
- The main material of the greenhouse is resistant to moisture and low temperatures.
Did you know? The largest greenhouse in the world is an indoor botanical garden located in the UK, Cornwall. The completed structure according to the Eden project is a dome of three spheres with a total area of 22 thousand m².
However, one should not forget that, like any building, such a greenhouse has some drawbacks that every gardener must meet before installing it.
- First of all, it is:
- low mechanical strength of polycarbonate;
- the structure is difficult to tolerate snow loads, therefore, in order to prevent deformation of the roof and all supporting structures, it must be removed as it appears;
- polycarbonate is quite combustible, therefore, such greenhouses do not tolerate proximity to open sources of flame, and also can not be heated by any combustible fuel.
What will be needed for assembly
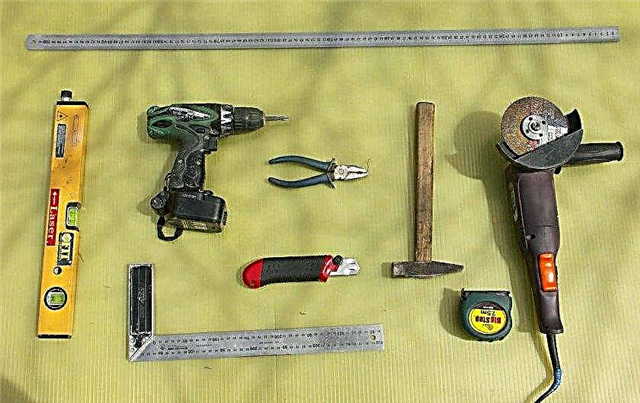
Before you build a greenhouse, you must carefully prepare. To do this, stock up on a whole list of all kinds of equipment and auxiliary materials. Of the tools for this you will need drill with a set of drills and a bit for twisting self-tapping screws and an angle grinder (grinder). From an ordinary tool, you will definitely need a set of screwdrivers of different sizes, construction level, plumb and marking cords, metal scissors.
The list of necessary materials, except for polycarbonate and profiles for installation, provides for:
- self-tapping screws 10 and 25 mm long;
- packaging of roofing screws with a rubber washer (10-15 mm long);
- set of connectors for crab type profiles;
- packaging of ES mounting rails (direct suspension).
Important! Before starting installation, you must acquire a factory project or create it yourself. This will help to speed up the construction, as well as to avoid during this many unforeseen situations.
How to assemble and improve galvanized greenhouses
The assembly of the frame of the greenhouse begins with the preparation and leveling of the site, as well as the installation of the foundation. To do this, you can use a concrete base or a low frame (square or rectangular) frame from a profile pipe or wooden blocks, with special protective impregnation. After this, it is necessary to sequentially assemble the end walls, install the frame from them. After this, the greenhouse is sheathed, but before that it is necessary to strengthen it in every possible way.
End wall manufacturing
The manufacture of end walls is the first thing to start with the construction of a profile frame. They often represent two parallel racks connected in the lower and upper parts by horizontal ones. Their shape and size can be varied (depending on the project), however, most often these are dome-shaped structures with a single or gable roof.
They begin assembling the walls with marking and trimming the profile to the necessary parts. After that, they are twisted together with self-tapping screws, and the joints of several profiles are additionally strengthened with connecting fasteners. The installation of the ends is carried out in such a way so that each of the walls repeats each other exactly, so the dimensions of the vertical and horizontal racks should be the same. The number of such walls is chosen with a calculation of at least 3 per meter running throughout the structure, since for reliability during subsequent installation, the distance between them should be no more than 60 cm.
Assembly of the profile frame of the greenhouse
After the required number of walls has been made, you can begin to create a frame. To do this, first fasten the two initial ends with an interval of 50-60 cm. Connect them together with horizontal slats from the profile at least at three points: at the bottom of each side, as well as at the top, however, for reliability, the ends should be fastened with at least five points.
After connecting the first two walls, you should proceed to alternately attach the subsequent ends to the type of the first two. As a result, you should get a single design of the ends, resembling a skeleton, with horizontal connection axes and edges perpendicular to the base. If the greenhouse is installed on the foundation, at the very end of the procedure it is necessary to fix the base to it using a dowel-nail or other fasteners.
Did you know? Galvanizing of metals was invented in France in 1742 by the famous scientist Paul Jacques Mulouin.
Strengthening the frame with additional stiffening ribs
If you plan to use the greenhouse only in the warm season, the structure does not need to be strengthened; in all other cases, it is necessary to install stiffening ribs in the frame. Otherwise, even light snow or a strong winter wind can lead to deformation of the structure, including the main load-bearing elements.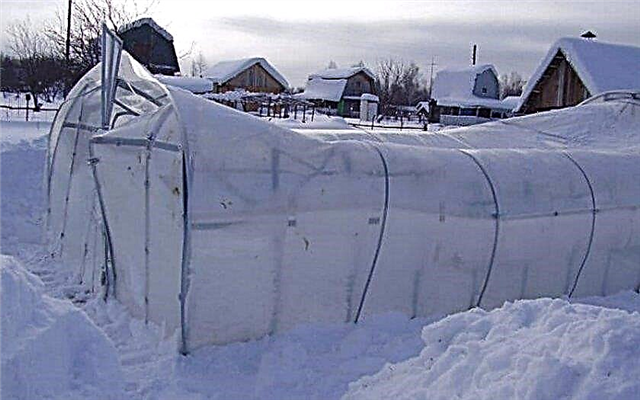 Insufficient reinforcement of the frame can lead to deformation of the structure
This procedure is the installation of additional struts and bevelsreducing the distance between the supporting vertical and horizontal racks of the walls. On each end wall in the area of the roof (on the inside), you must fix the horizontal struts between the uprights. They do this so that, in addition to the racks, the trims are connected and the base of the roof.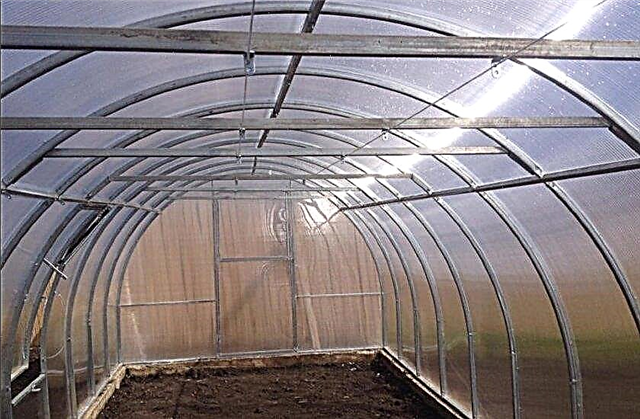
After this, bevels should be installed, they are special planks fixed at an angle between two horizontal and vertical racks. Install them so that one side of the plank is screwed in the lower corner, and the other in the upper opposite posts. Thus, it is necessary to strengthen the gaps between the end walls on the sides and at the top, in the area of the roof.
Also, the bevels must be mounted inside the structure to increase the rigidity of the roof. To do this, one side of the bevel is fixed in the inner part of the base of the ends, and the opposite at the top, at the junction of the horizontal strut with the side strut. At the end of the installation, the external structure of the frame should be transformed into a two-layer structure consisting of two interdependent structures.Important! If during assembly you created a frame made of ordinary steel, it is recommended to galvanize it. To do this, all surfaces, as well as connecting nodes, must be treated with a special cold-galvanized spray (Berner, Zinga, ZINTEC, etc.).
Useful assembly and operating tips
To achieve a long life of the greenhouse and create a reliable frame as quickly as possible, you need:
- to collect the greenhouse only from high-quality materials that meet all modern standards;
- the joints of bevels and planks, if possible, be reinforced with 1-2 metal corners;
- use only lightweight but extremely durable materials for lining;
- use only transparent roofing materials, otherwise during operation the plants will be exposed to a deficit of sunlight;
- during installation, it is imperative that all right angles and horizontal strips are checked against the level, otherwise the structure will not become stiff.

In addition, in the future it is also necessary to provide a greenhouse and specific care. To do this, in the off-season, you should check all the racks and strips, as well as their connection points for possible damage and deformation. If the latter are identified, it is necessary to quickly replace the damaged unit. Even galvanized materials undergo corrosion over time, therefore, as the problem arises, it is necessary to re-galvanize. To protect the greenhouse from damage, if possible, the roof should be removed for the winter or, as snow falls, periodically remove it.
Video: Installation of a galvanized greenhouse
Galvanized greenhouse is gaining popularity every year, but for many it has become the best solution for the construction of an inexpensive, but functional design. It is not difficult to create such a structure and even with minimal skills in construction, the main thing is to focus on strengthening the load-bearing elements. This is the only way to achieve a building service life of at least 20 years.


